 It’s just been just a few days since the last update, but we have been getting ready for the hot days of summer. This means some spring plants had to go to make way for the new plants. So, we pulled most of the green beans which had us picking crops about two hours a day (they were in eight of our gardens), plus we pulled some squash and picked many of the onions.
 This made way for a solid planting of black-eyed peas (a/k/a cowpeas) and okra. We threw a few other things into the mix (radishes, zucchini, watermelons, etc.) During the process of removing plants, I looked for ones that had done their duty or looked a little peeked.
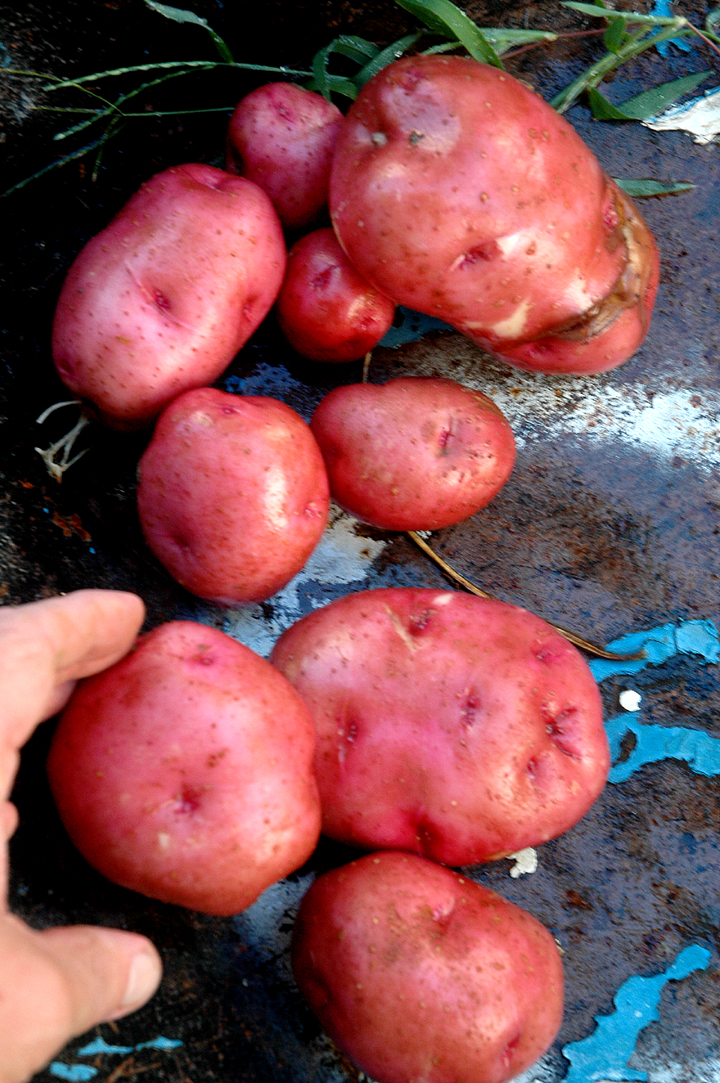
Interestingly, in one of our gardens, named Belle, I had planted two-thirds of it in potatoes, a variety of types. Most of the plants are still very big and lush, but one of the smaller plants had died, so I thought I would dig up under it in the event I might find a potato or two. Pictured (click on image to enlarge) is the take, from that one runty plant. Not bad! There are about 35 bigger plants left to go!
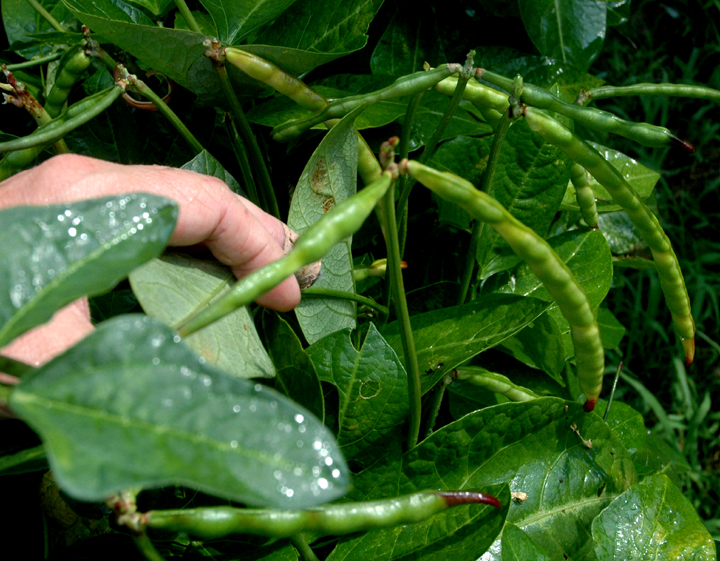
 Earlier, I mentioned black-eyed peas. Usually I plant them in warmer weather because if it is too cold the seeds tend to rot. However, this year during the late winter I germinated some seeds utilizing the carbonated water method and planted them early. I am already harvesting black-eyes at the time I usually plant them (see image). This method of germination involves soaking the paper towel in carbonated water instead of plain water and rendered a 24-hour germination period (see previous updates for details).
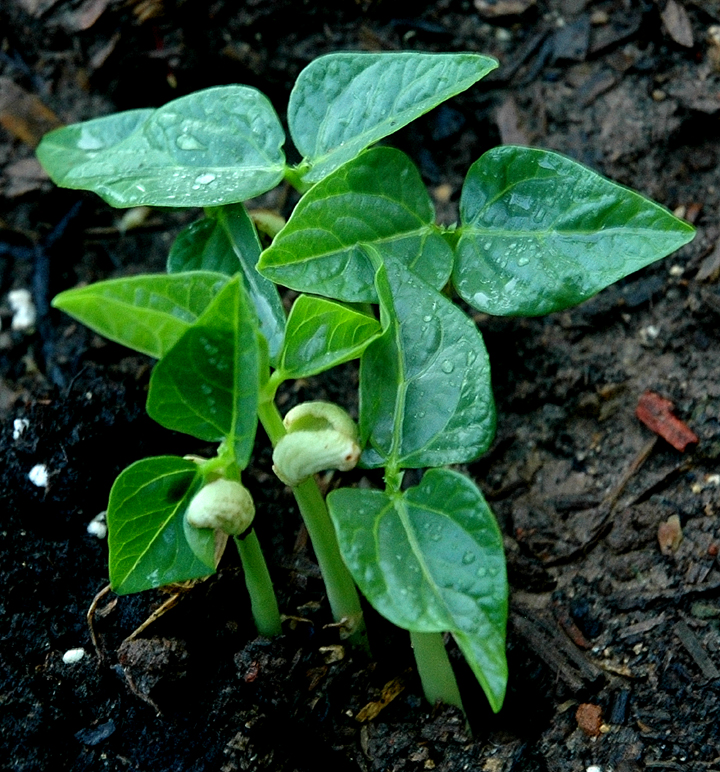
 Now that the weather is hot, the seeds germinate in the soil very quickly. On the right is a close-up image of some of the black-eyes I photographed earlier today that I planted from seed just four days ago. Many have already broken the surface. Most are already growing leaves. When they get just a little bigger, I will go back and drop in more seeds in the blank spaces.
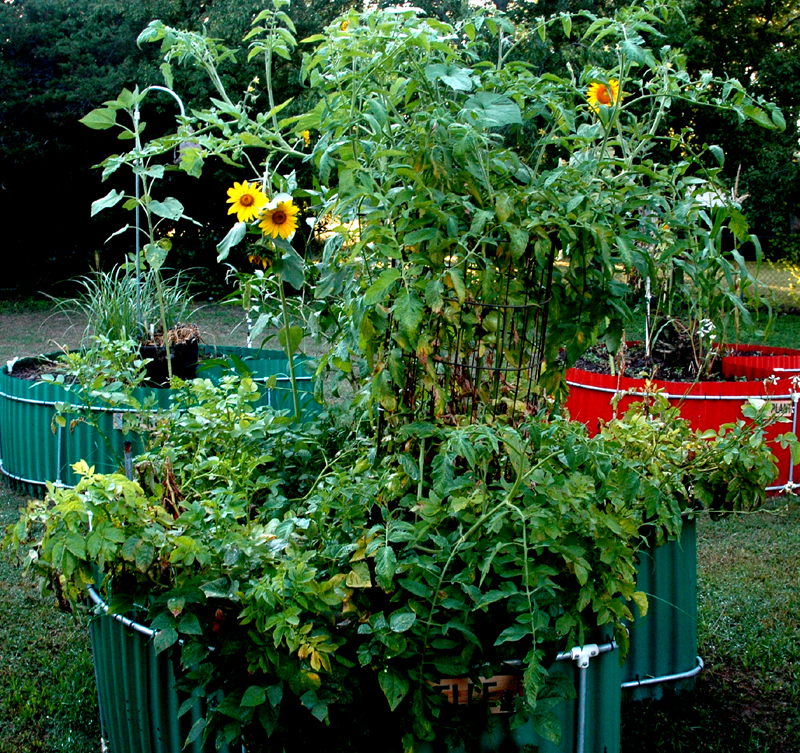
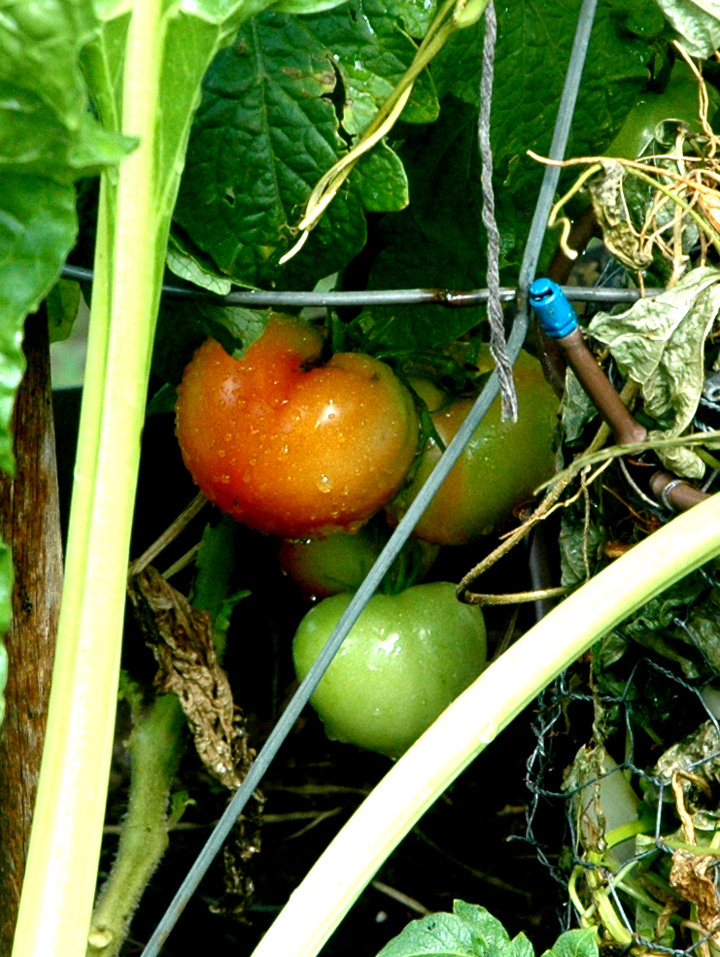
I have been picking a lot of tomatoes this year, and many more are forming. Here are a couple of images of them.
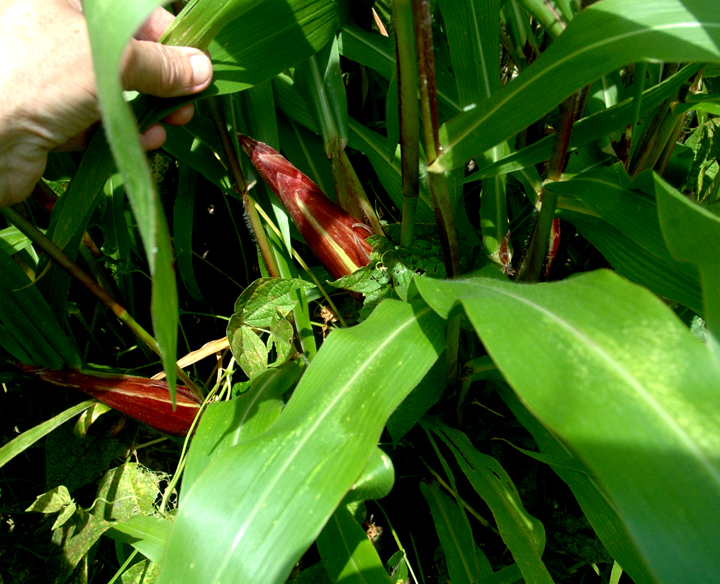
There are also a couple of images of corn and lima beans that are doing well in our gardens.
A few days ago when I was preparing to pull up the beans, I enlisted the help of my granddaughter. If you remember, Texas had experienced massive flooding and there was still water standing on the ground where my keyholes are located (but not in the gardens), which is another big advantage of keyholes since they drain well. One guy I spoke with said his “on the ground” garden would have to be completely redone because of the rain.
 Anyway, we decided to work in the gardens the next day. I told my young helper to be sure to wear long sleeves and long pants.
She said, “Why? It’s going to be hot out there.”
I explained that I had put my mosquitoes on a strict diet and I didn’t want to tempt them too much. They have been fairly abundant early in the mornings and late afternoons because of the wet ground.
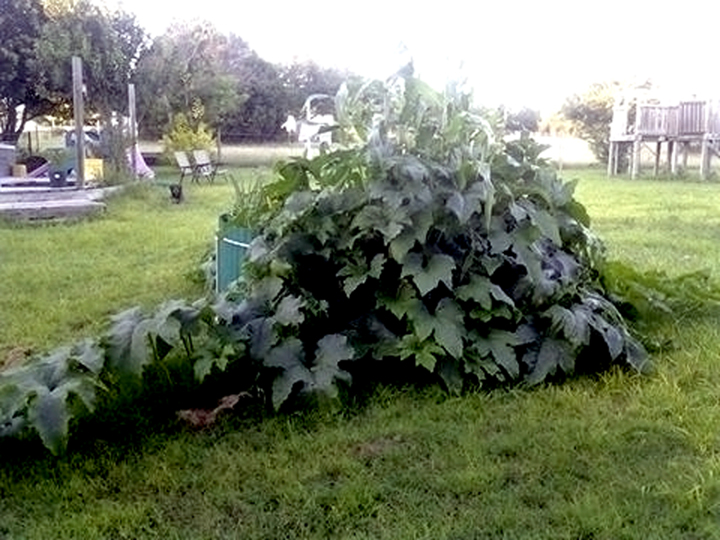 One of our customers sent some photos of her keyhole garden. She was very excited about how it exploded with pumpkins. They not only took over half of her garden (she was raising onions and other things, as well), but they also took over much of the yard. Here are three of the images she sent to me. “This is unbelievable,” she said. “I never imagined the garden would produce like that!”
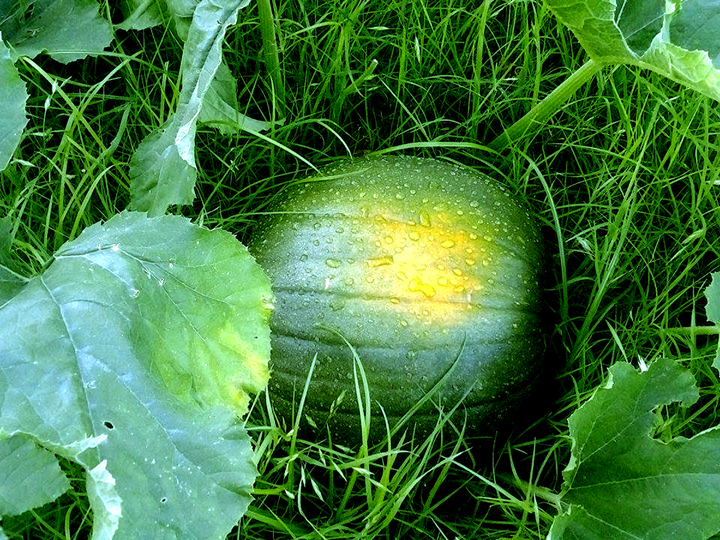 The thing is, she didn’t even plant the pumpkins. She had dumped a Halloween pumpkin’s throw-aways into the internal basket in the late fall and the seeds grew from there this spring.
As a reminder, anytime is a great time to get into keyhole gardening, because of the diversity of crops that can be raised according to season. Some plants do better in summer, some in winter, some in fall, and some in spring. You can plant crops very close together, you conserve water, you provide natural nutrition for your garden by using the internal basket for recycling left-overs, and you don’t have to bend over as much like you do with traditional gardens. Weeding is usually minimal and, with our kits, if you need to move the garden it is fairly easy to disassemble. Also, with our durable, lightweight kits, you can get very close to the plants.
June 21 Update: OUR NEWEST INVENTION
 We have been working recently on a way to view Keyhole Farm keyhole gardens from a bird’s eye view. I had been thinking about this for some time and considered first a balloon of sorts, on which to mount a camera. With my luck, the string holding the balloon would probably break and off would go the camera, it crashing to the ground somewhere. Next I considered developing a type of drone. Other than it merely being too expensive, I could see me spending all my free time playing with it.
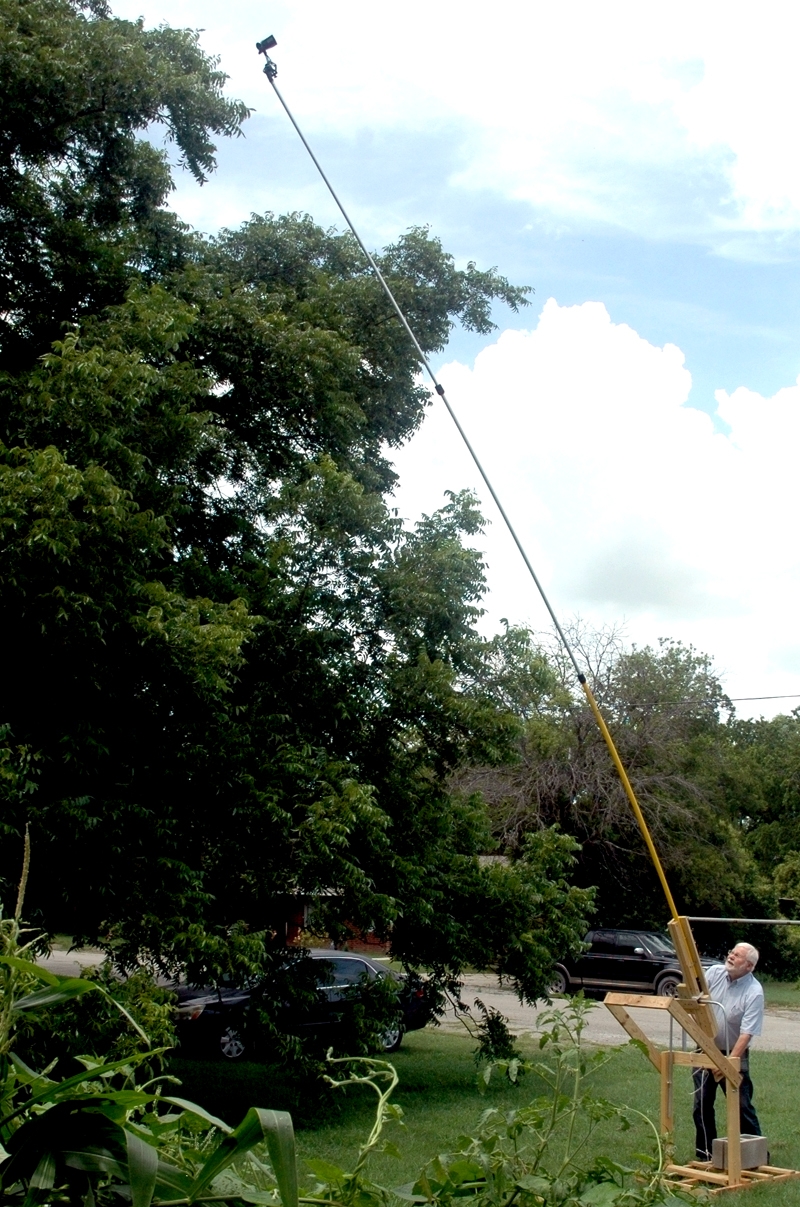
 So I traveled back to the stone ages (mentally, where I spend quite a bit of time, I am told) and decided to attempt utilizing a fulcrum, kind of like a see-saw, only with one side shorter than the other. In my dreams, I was imagining a ladder built like this, where you could sit on the end of the longer side and with the help of a mass of pulleys be able to sit there and turn the crank and be lifted up to, for instance, paint your house. I posed the idea to a couple of friends whose main comments were “You aren’t getting me on that thing. What if something breaks and I fall all the way to the ground.”
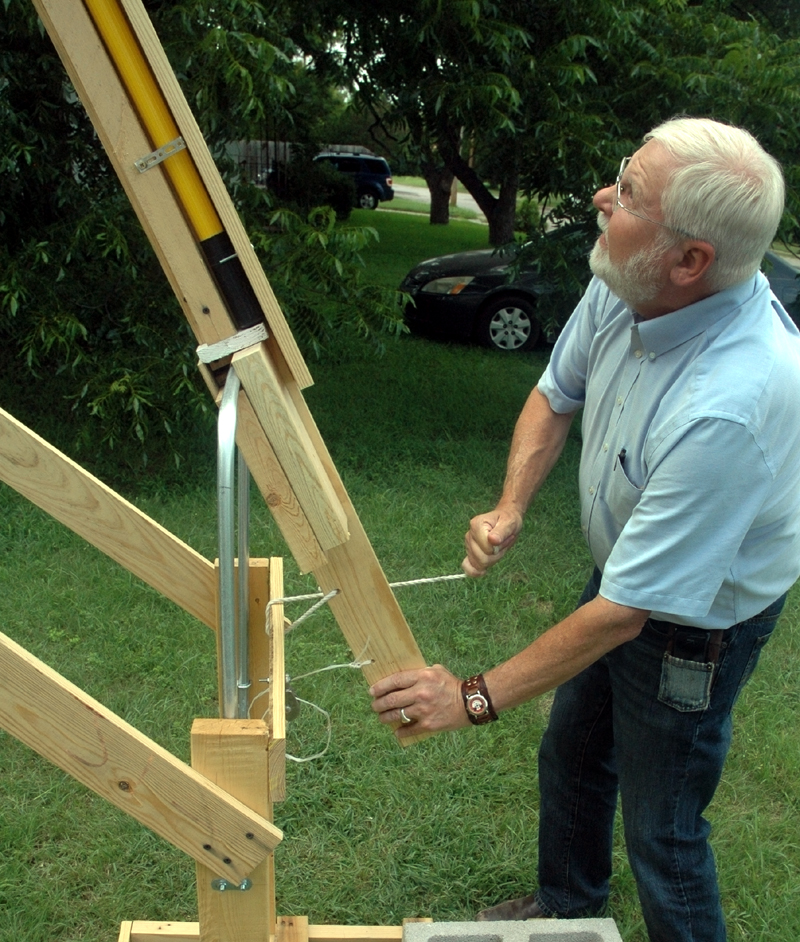
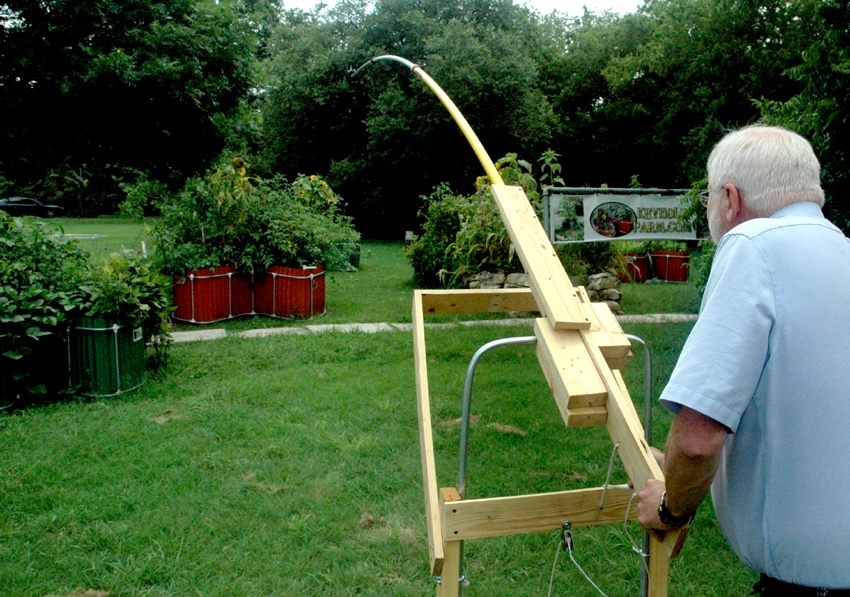
But for my very light video camera, I thought the idea had merit, so I planked together the device as shown with some scrap lumber. An extension pole (like painters or light bulb changers use on high elevations) is inserted into the slot, the pole is then extended and the camera mounted to the end, and on the device a board is pushed down (the short side of the see-saw) with a short rope attached to tie it off at a certain height, and BINGO, it works.
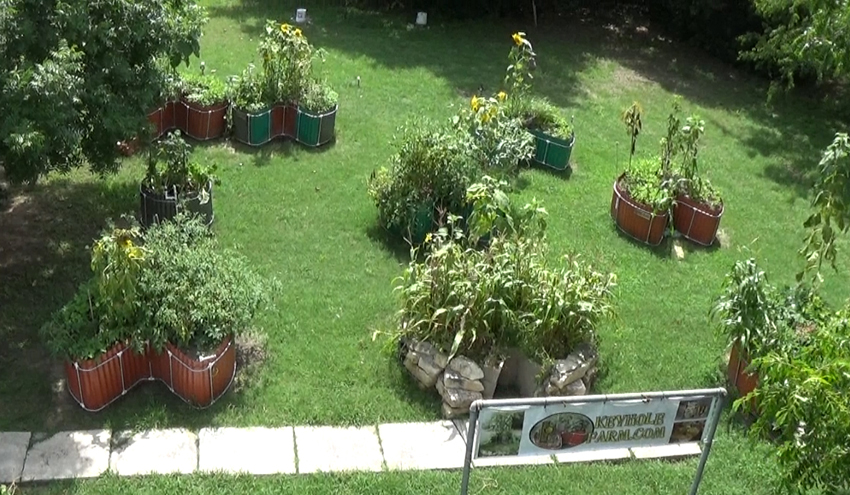
 Here is a screen shot from the video, as proof that it does work. Now I can position the device and camera and perhaps shoot videos looking straight down at our gardens as they are worked. We’ll see how it holds up!
It actually took about six hours to build from scratch after spending a few days figuring out concepts and measurements. Although this is a crude version, I can think of about a million different uses for a device like this. My out-of-pocket costs for this device was less than $50, the majority of which was for the extension pole ($39).